Woodwork Machinery Projects
Items:
Drum Thicknessing Sander Build
Table Saw Conversion
Router Table Adapter
Downdraft Sanding Table
Drum Thicknessing Sander Build (2015)
Documenting my woodworking drum thicknessing sander build.
Design
The design I chose was based on plans by Matthias Wandel, the woodgears.ca guy (woodgears.ca/sander/plans/), along with various tweaks from other forums and YouTubes, plus a few of my own.
Materials
I decided to scale up the plans, as I am aiming to build acoustic guitars, including oversize acoustic bass guitars.
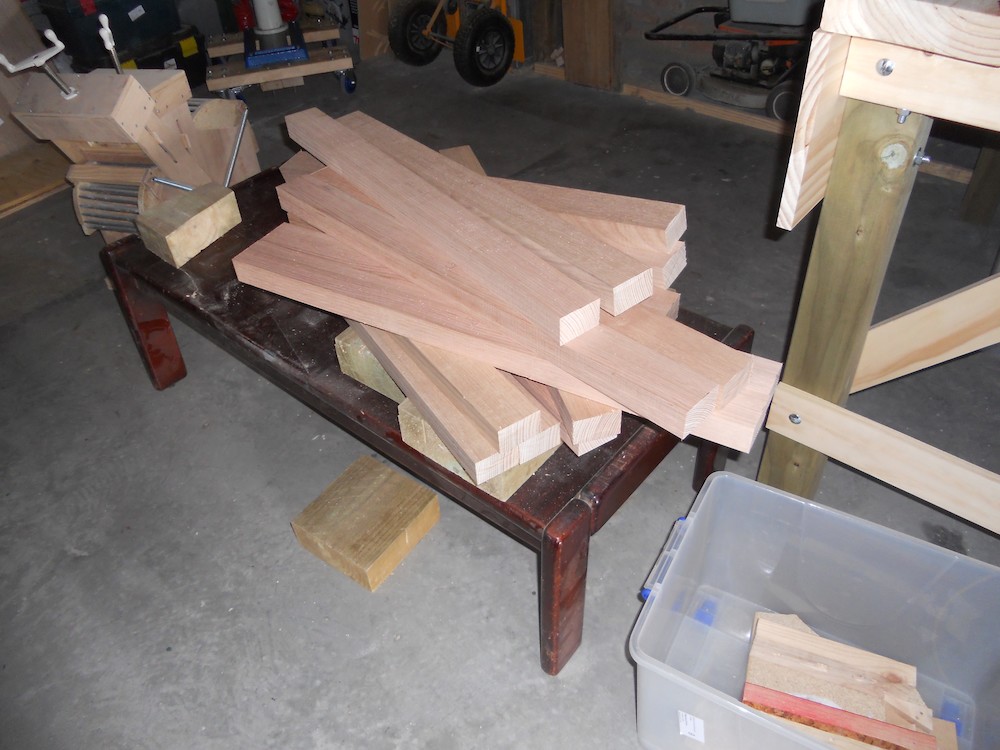
To minimise warping, expansion and shrinkage, I used hardwood (Tasmanian oak), and marine-grade plywood.
Both of those are much heavier than pine and also more expensive.
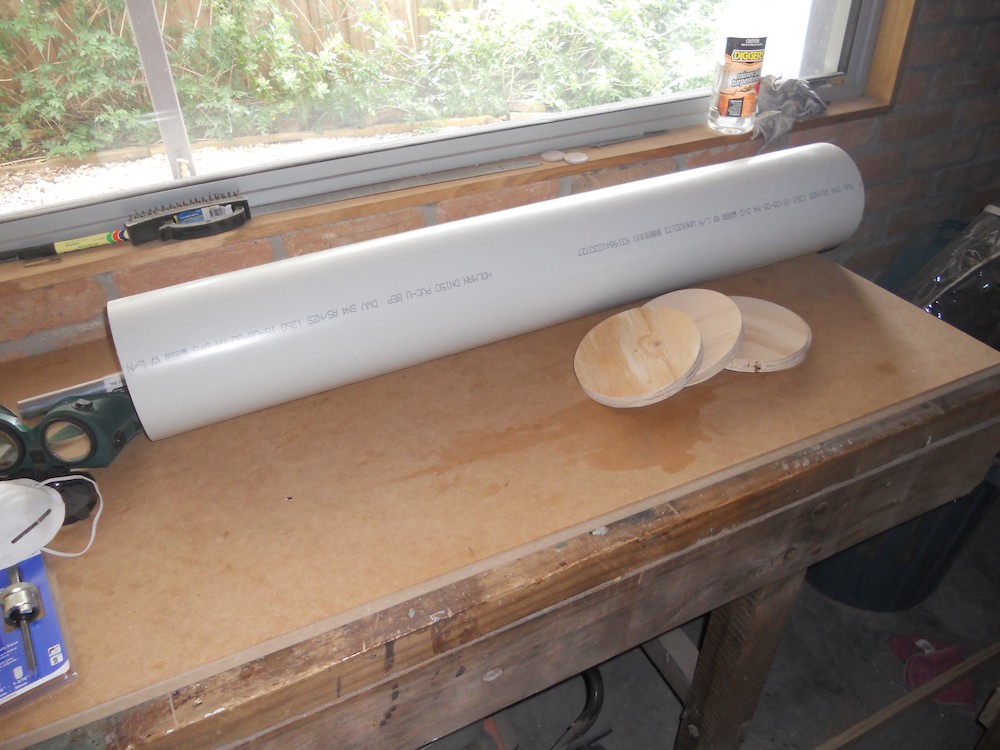
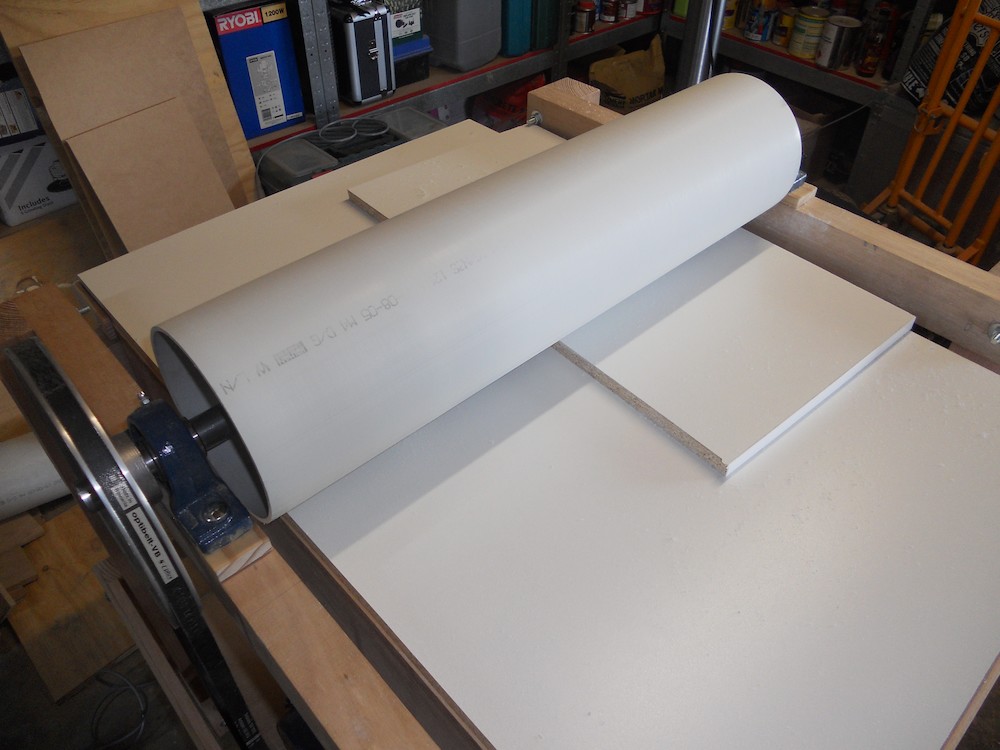
I also decided to use PVC drainage pipe for the drum, rather than disks of MDF. The idea was that once the internal mounting disks were trued,
the drum itself would require very little additional trueing.
The build
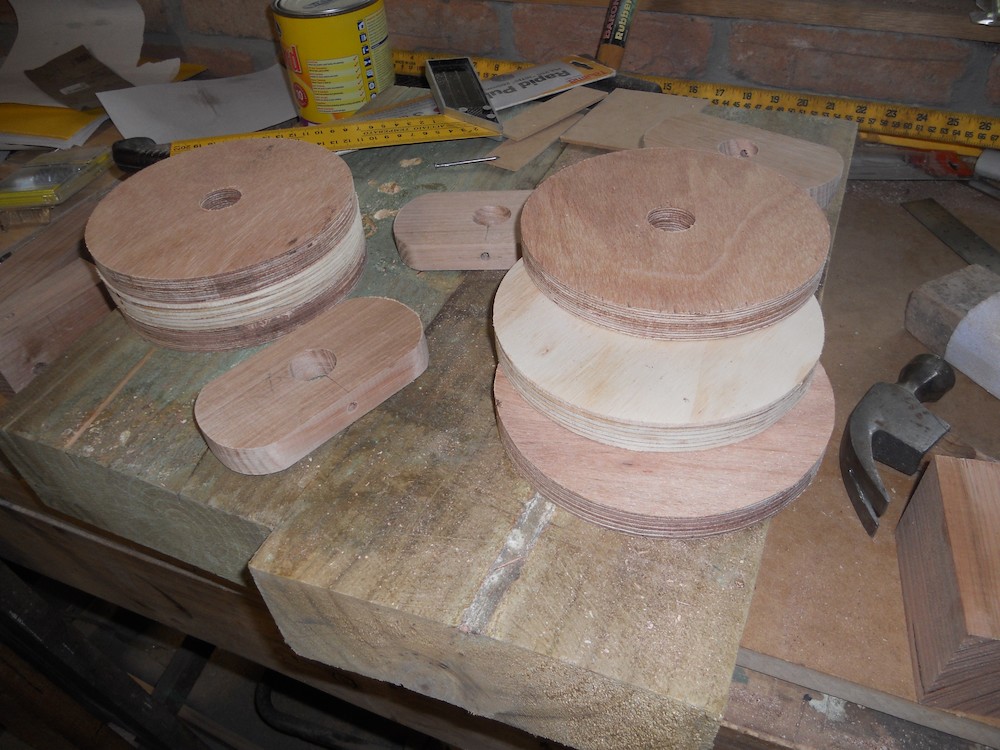
Drum components (the disks were an early attempt and not used) |
Frame pieces - Tasmanian oak, almost certainly over engineered |
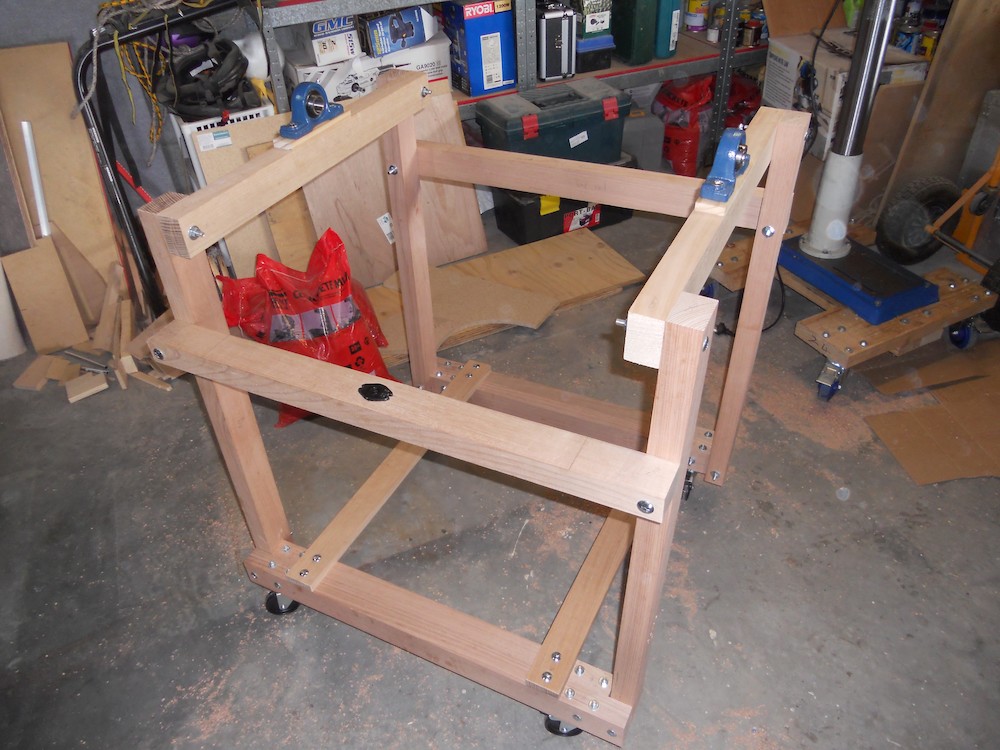
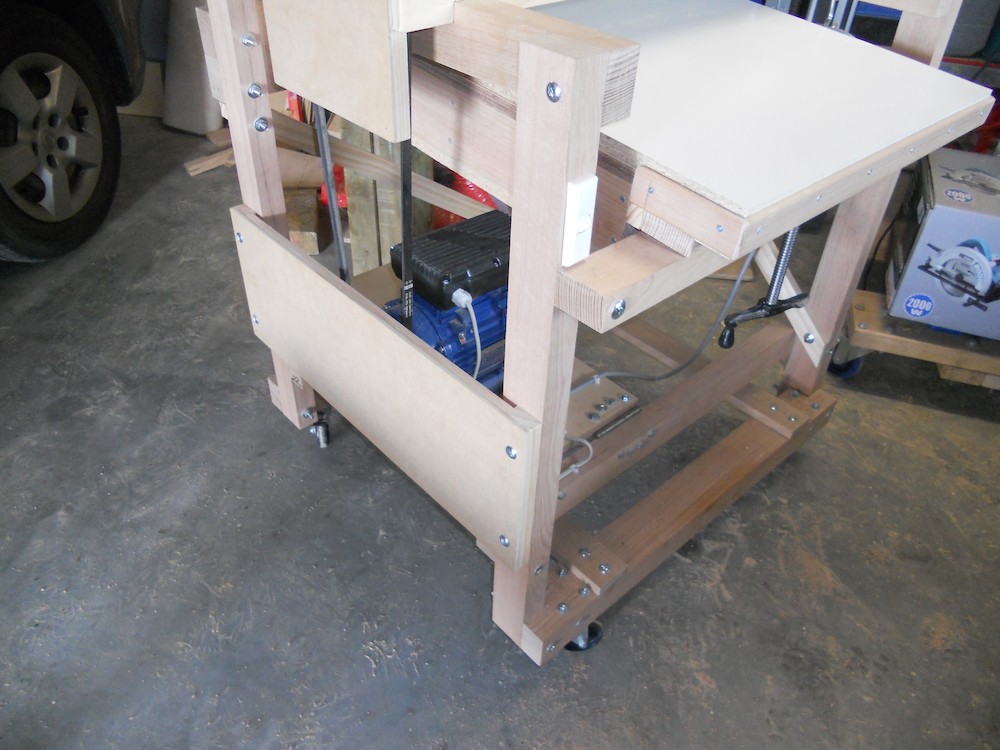
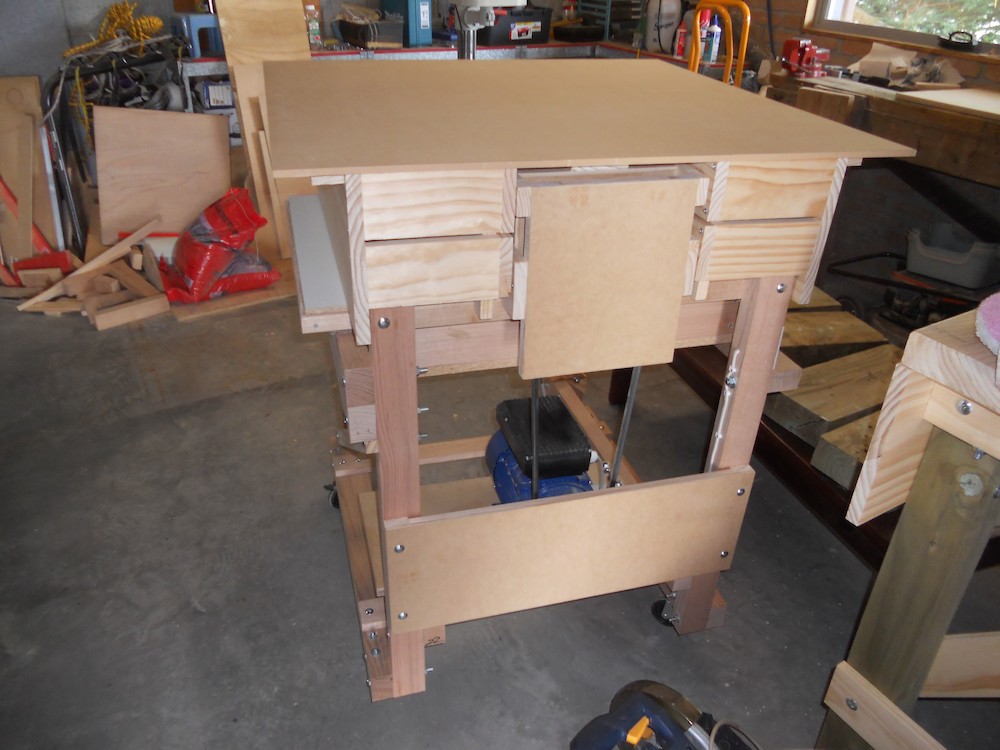
The basic frame assembled |
Bracing for the table |
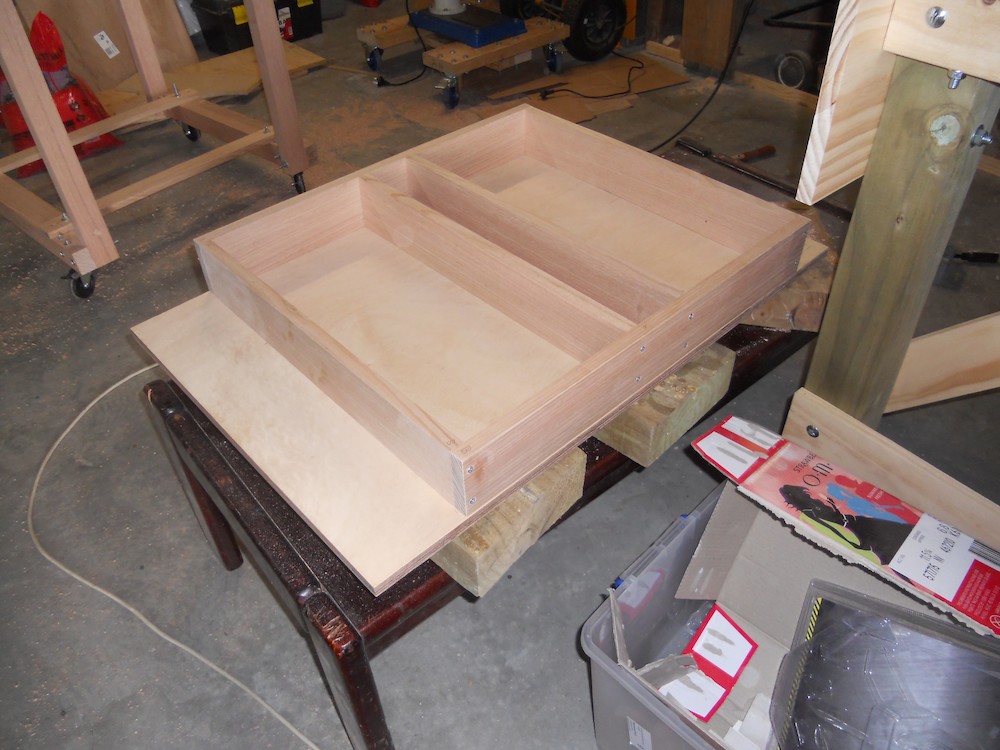
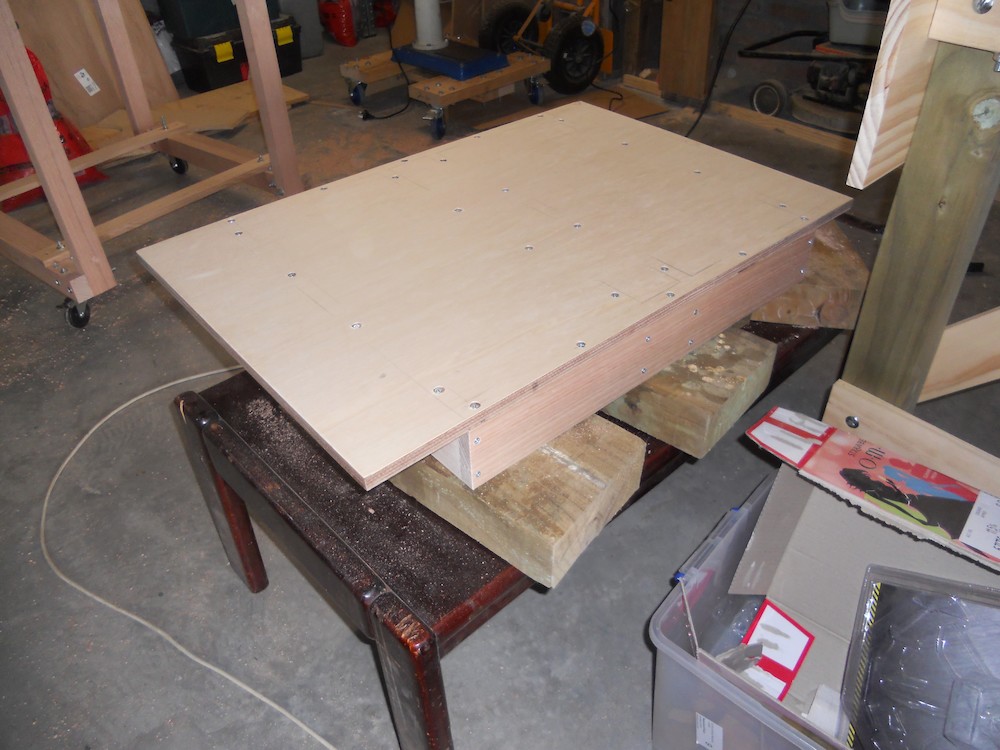
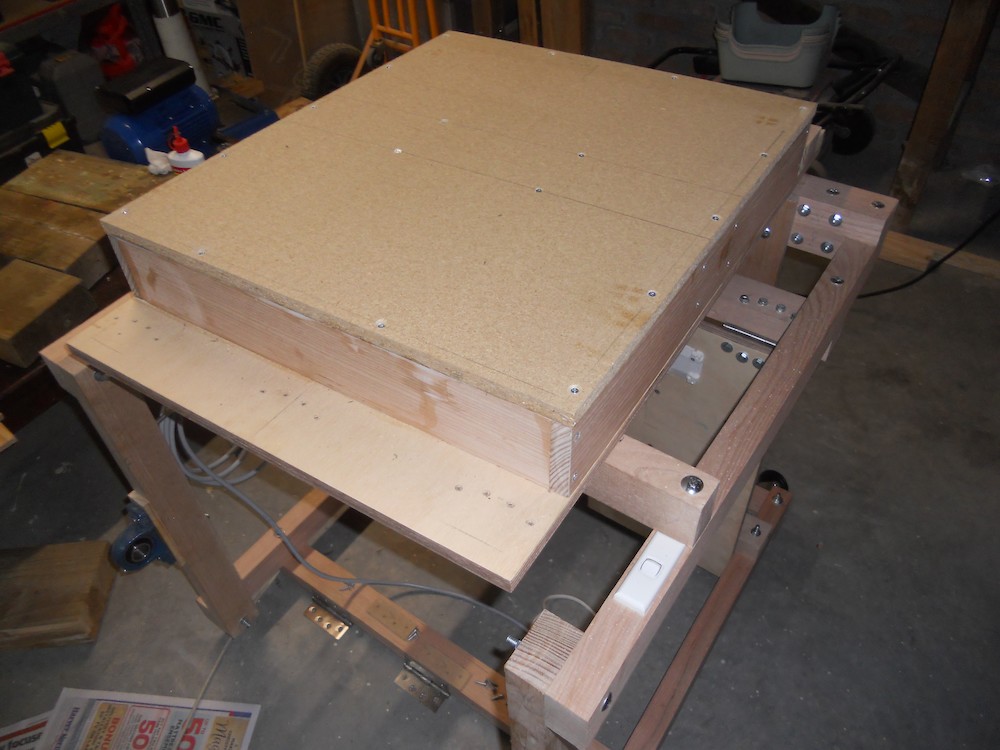
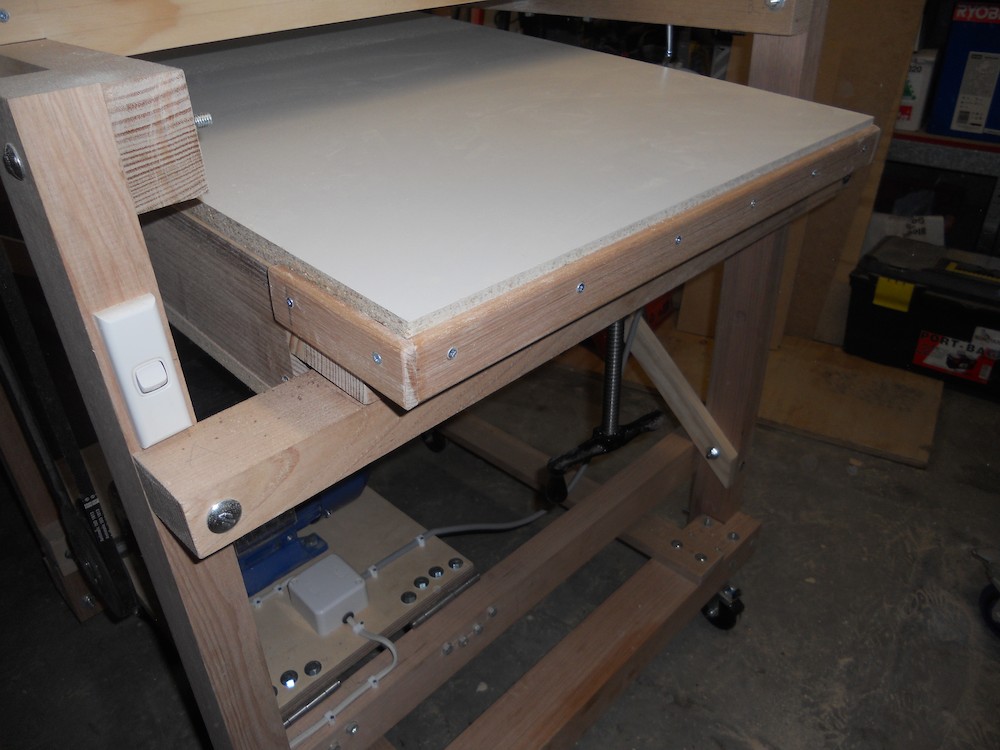
The work table mostly complete |
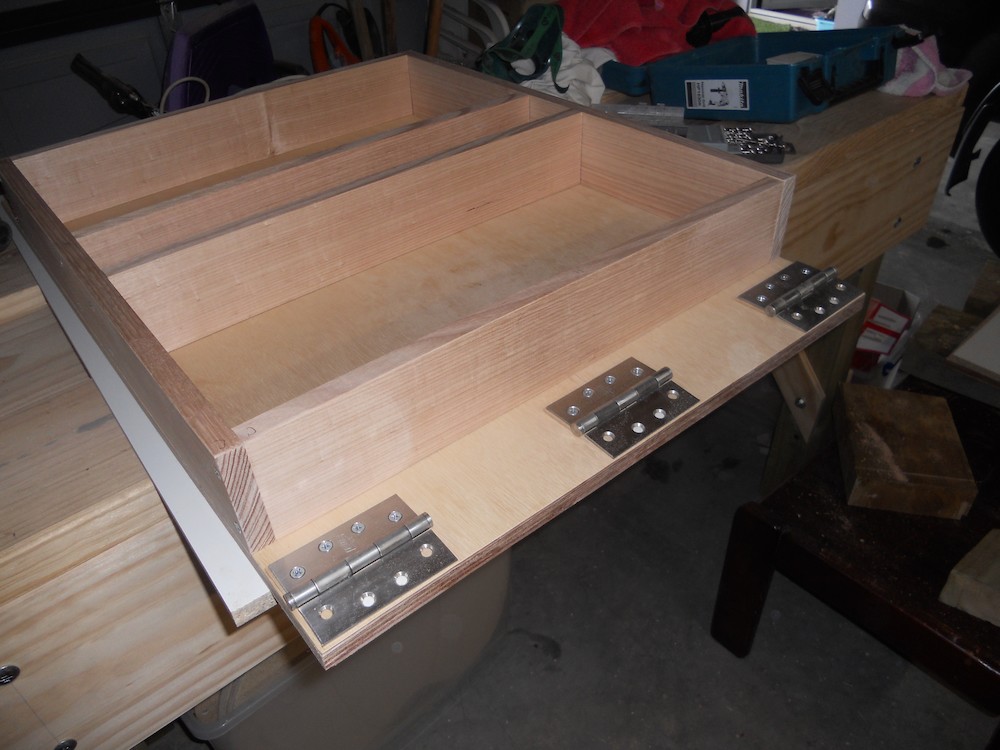
Hinges attached |
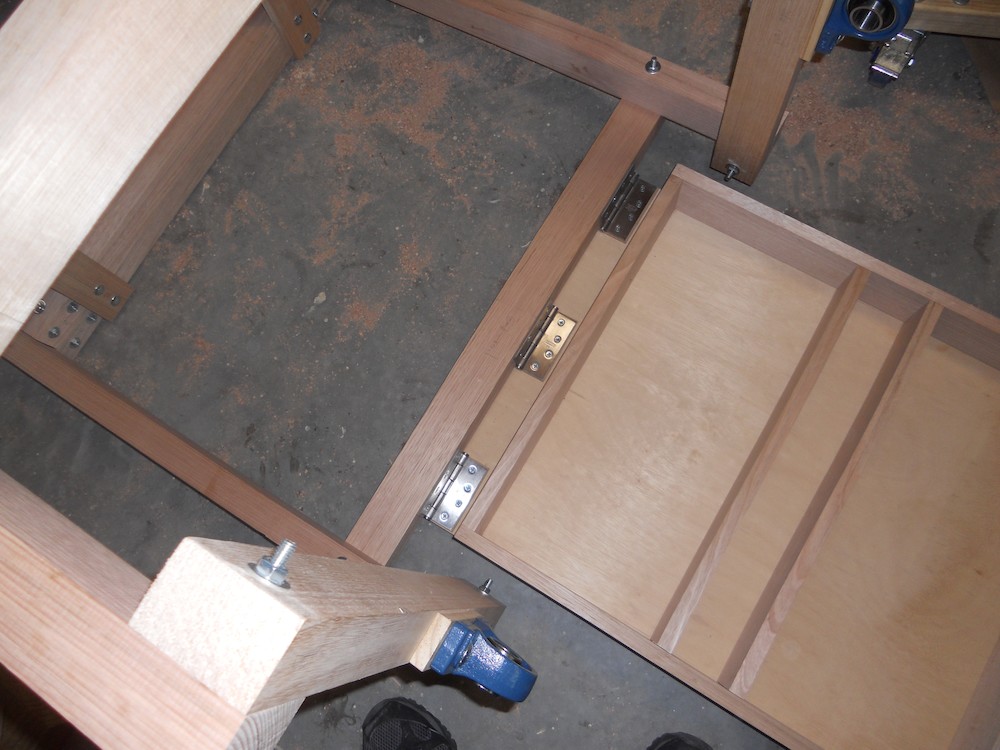
Attaching the table to the frame |
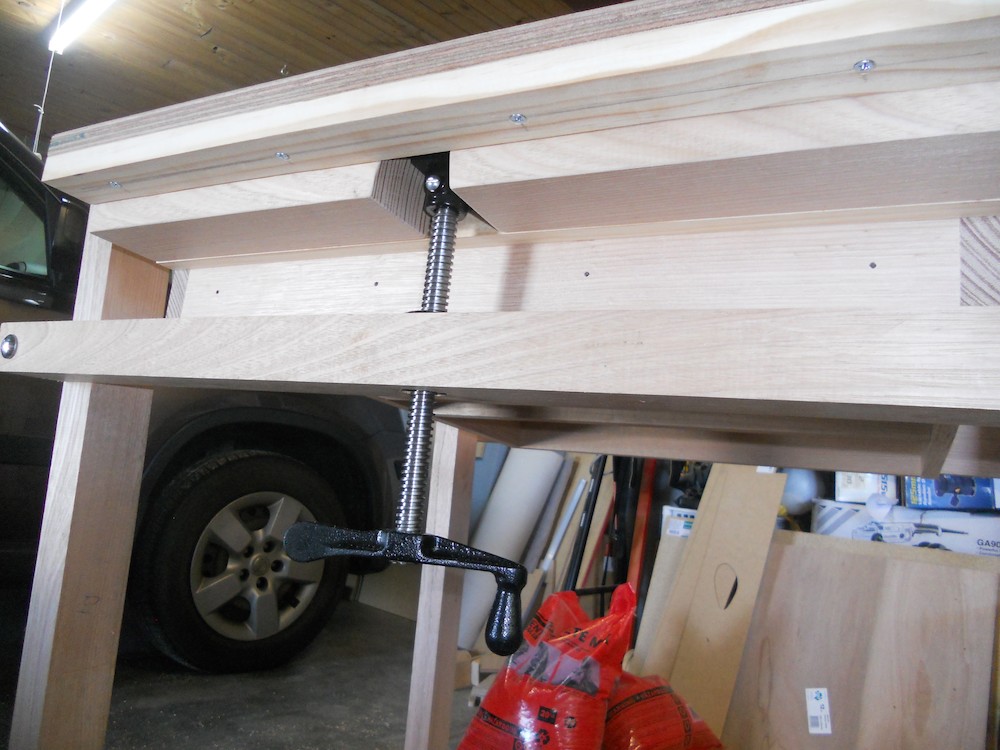
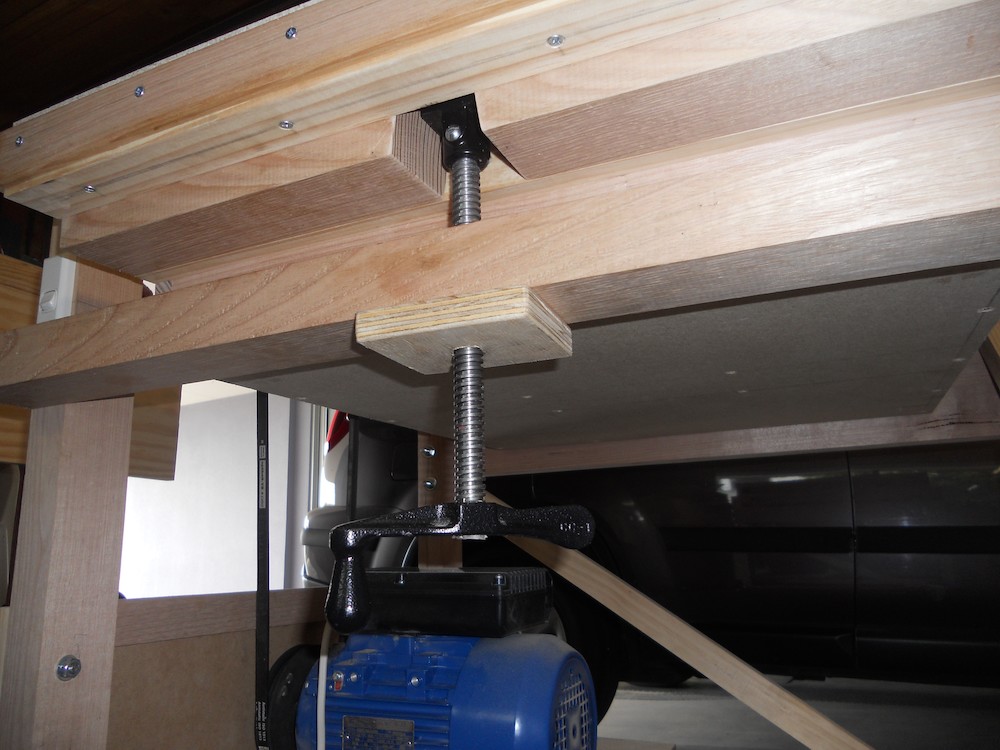
The table lift assembly using a press screw |
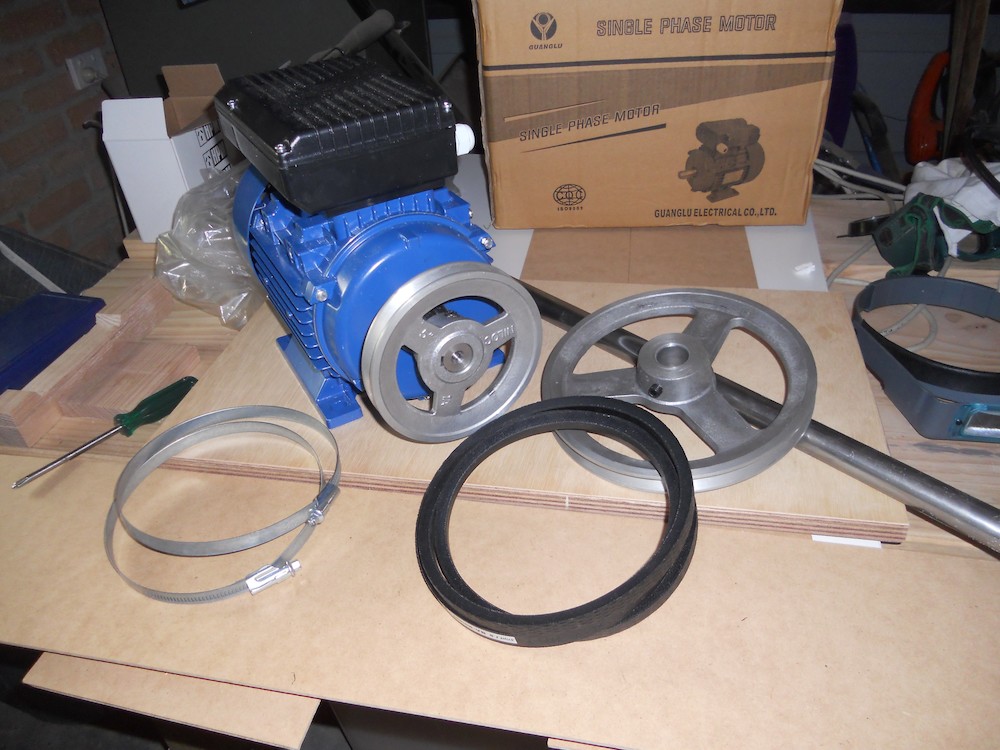
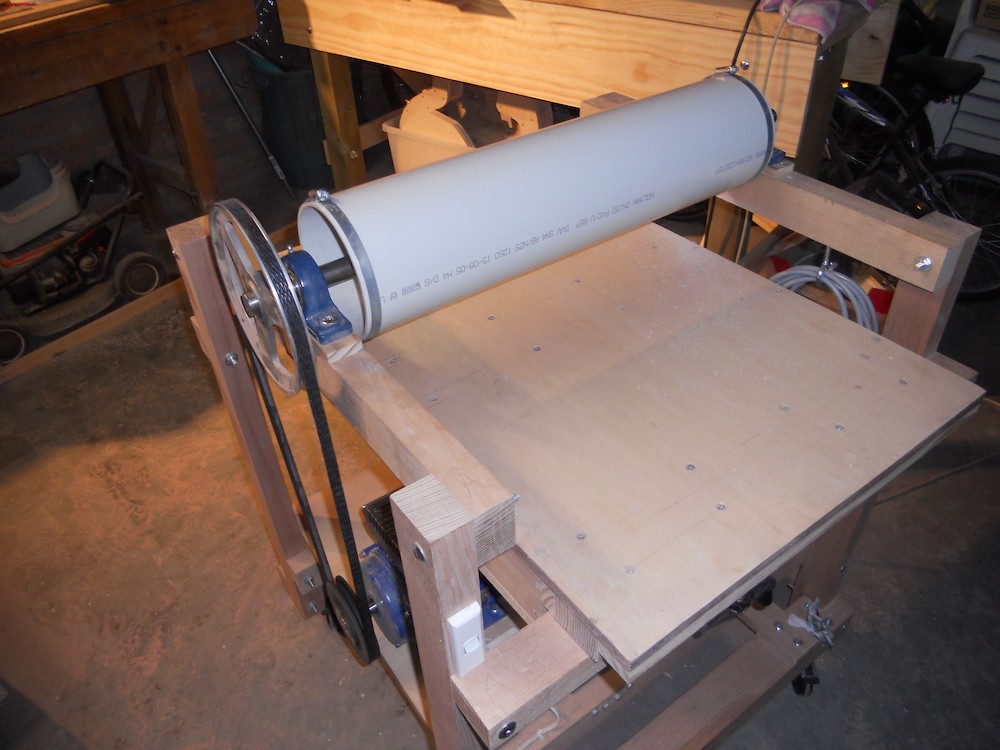
Motor (2HP) and pulleys. The motor runs at 2800 rpm, 5" and 8" pulleys bring this down to 1750 rpm. Since the drum diameter is 160 mm (6.3"), if my calculations are correct that gives a velocity of 2886 surface feet/min. |
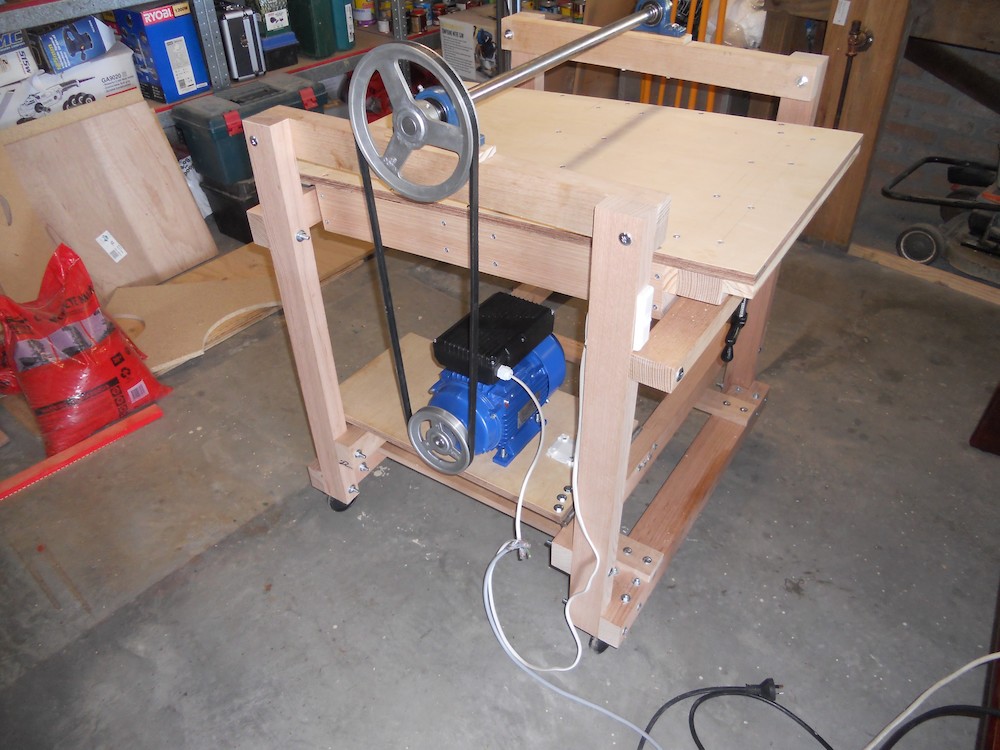
Testing the power train |
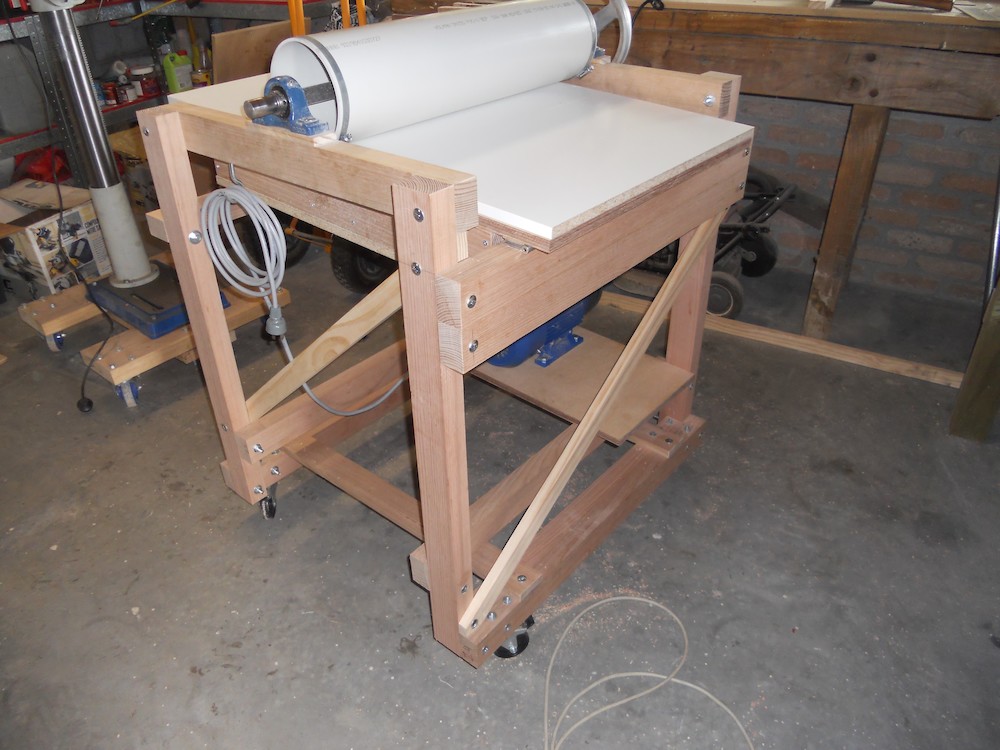
I decided to add more bracing to the table to increase torsional stiffness |
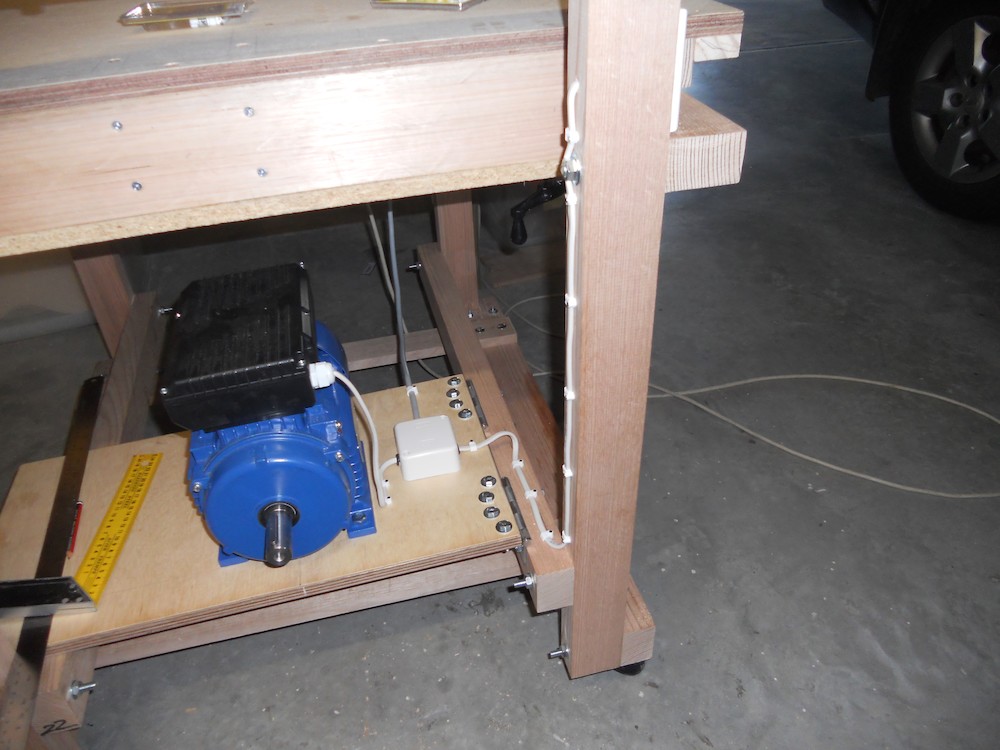
The electronics tidied up |
Components of the drum mounting disks |
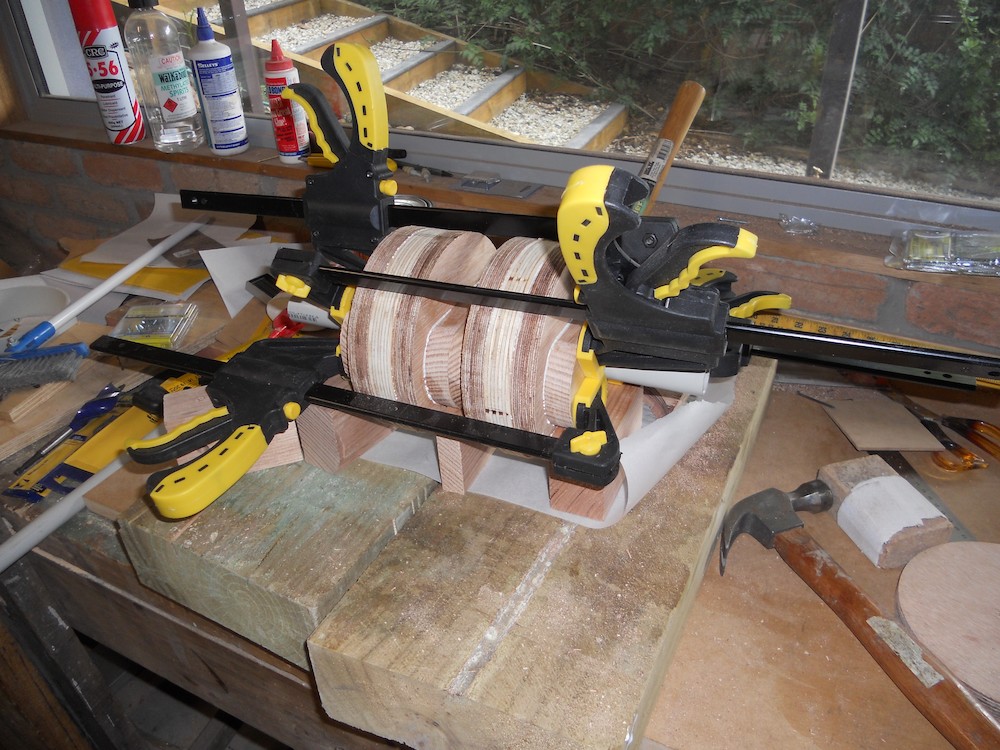
Glueing up the mounting disks. A length of 25mm PVC pipe is used (smeared with car wax to guard against glue squeeze out) to keep the holes aligned. |
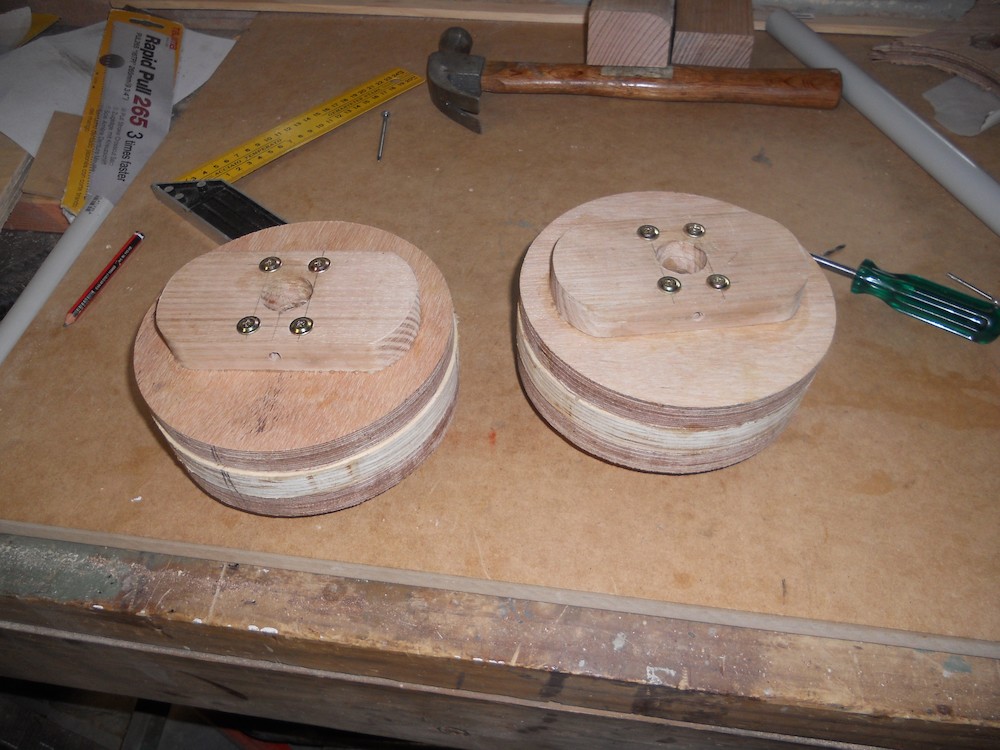
Completed disks. The four screws are to prevent splitting from the set screws used to secure the disks to the steel axle. |
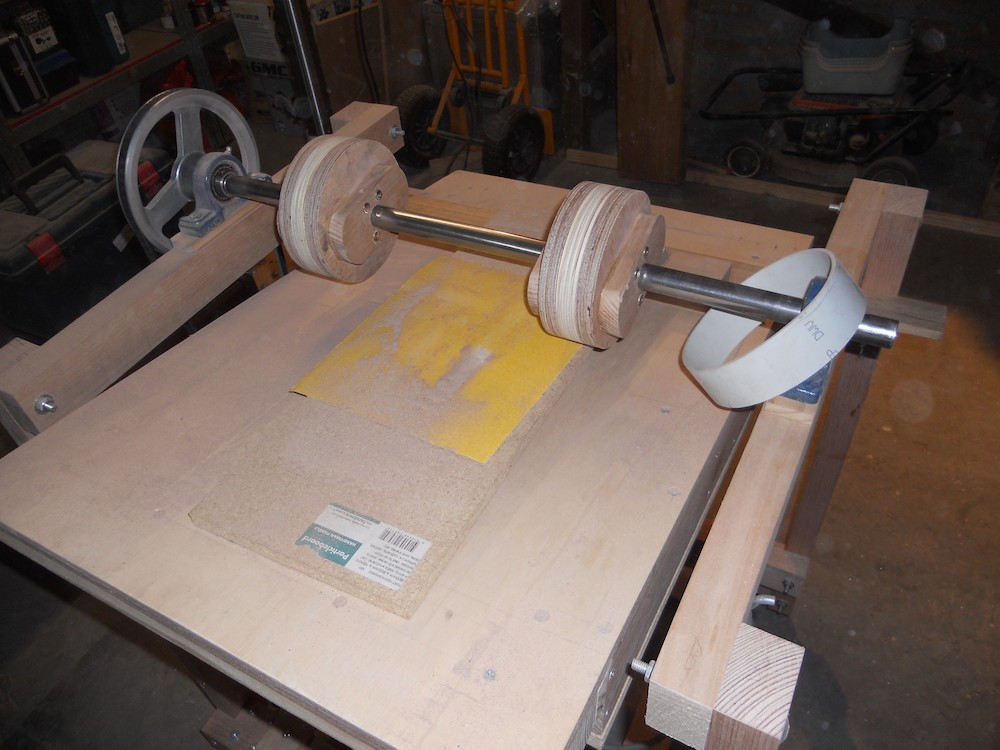
Trueing up the disks with coarse sandpaper. A small section of the PVC pipe is threaded so I can test the fit. |
The drum fitted. I was planning to use small countersunk screws to secure the drum, but friction appears to be more than adequate (I had to use a rubber mallet to fit the drum). If the disks shrink, I can always add screws later. |
Some cross bracing for the frame |
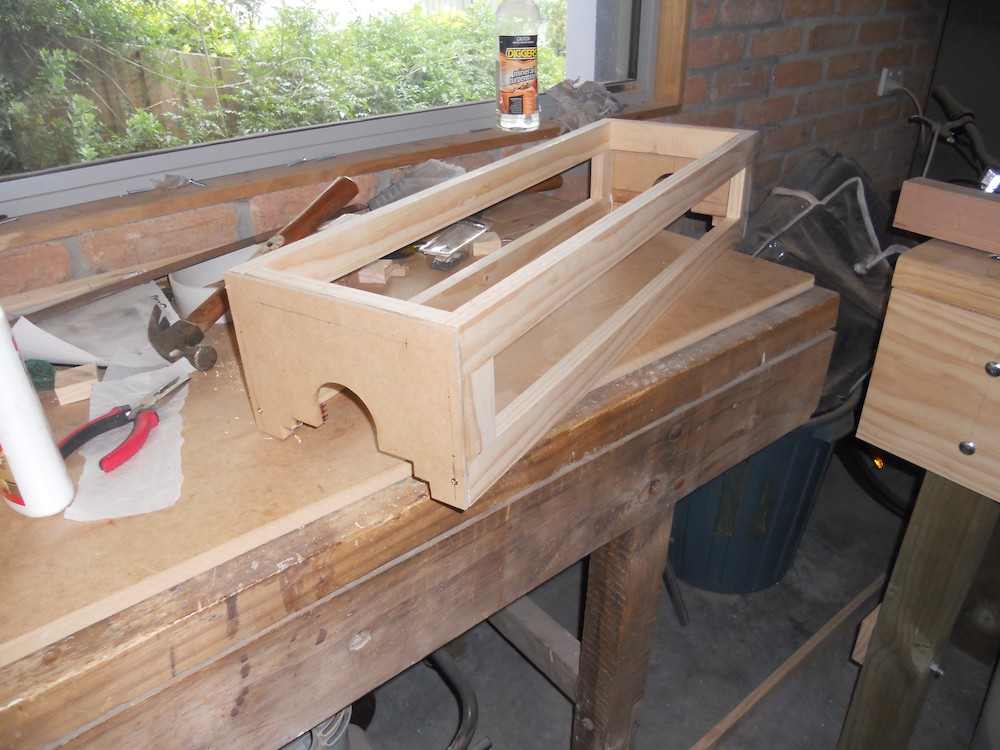
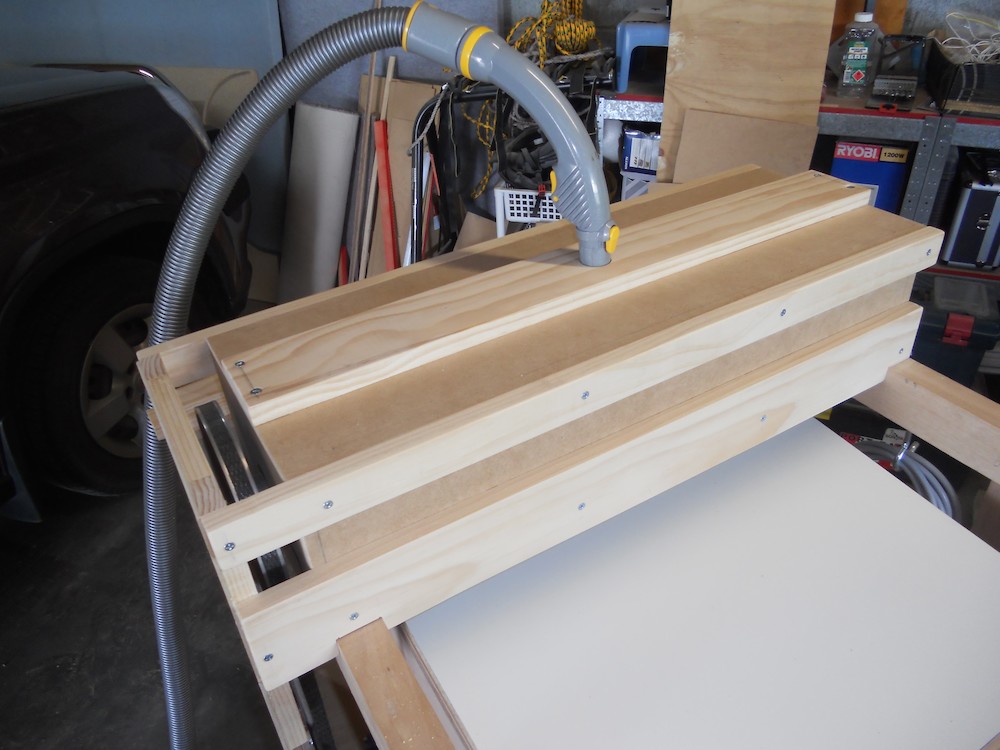
Dust shroud frame |
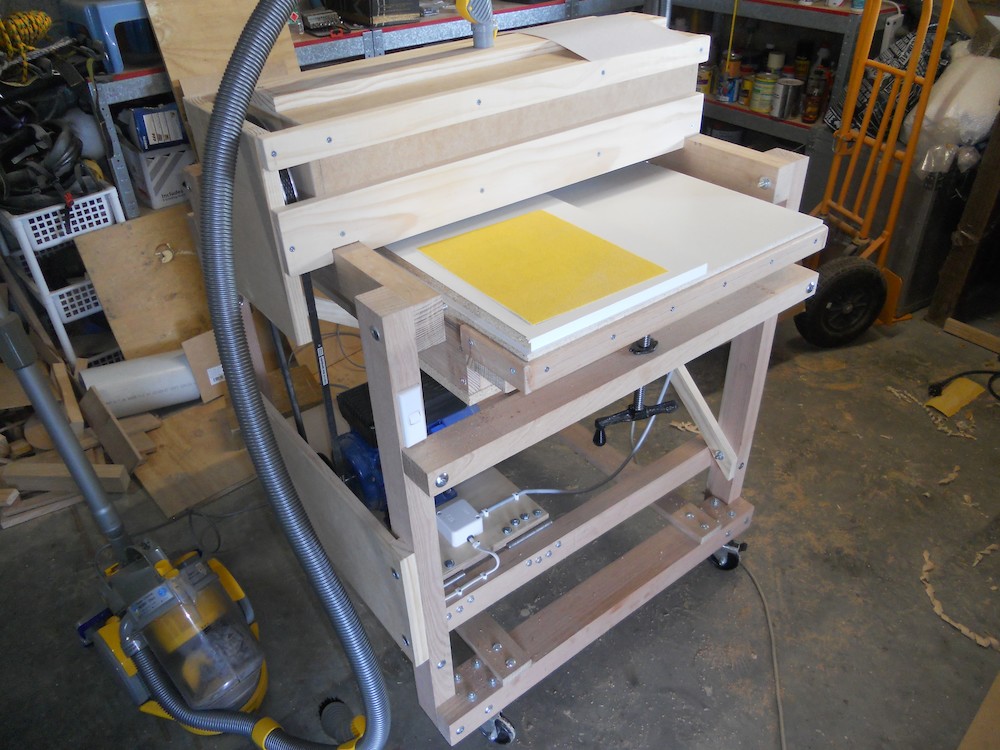
Completed dust shroud with integrated upper safety guard |
A lip around the ends of the table, so that the top layer (melamine coated) can sit securely, but be easily replaced if worn or damaged. |
The lower safety guard |
Testing the fit of the dust port |
A shim underneath one of the pillow block bearings to get the drum perfectly parallel to the table |
Trueing the drum with sandpaper. If there is any event of movement, shrinkage or expansion, I may need to do this again. |
The drum after trueing |
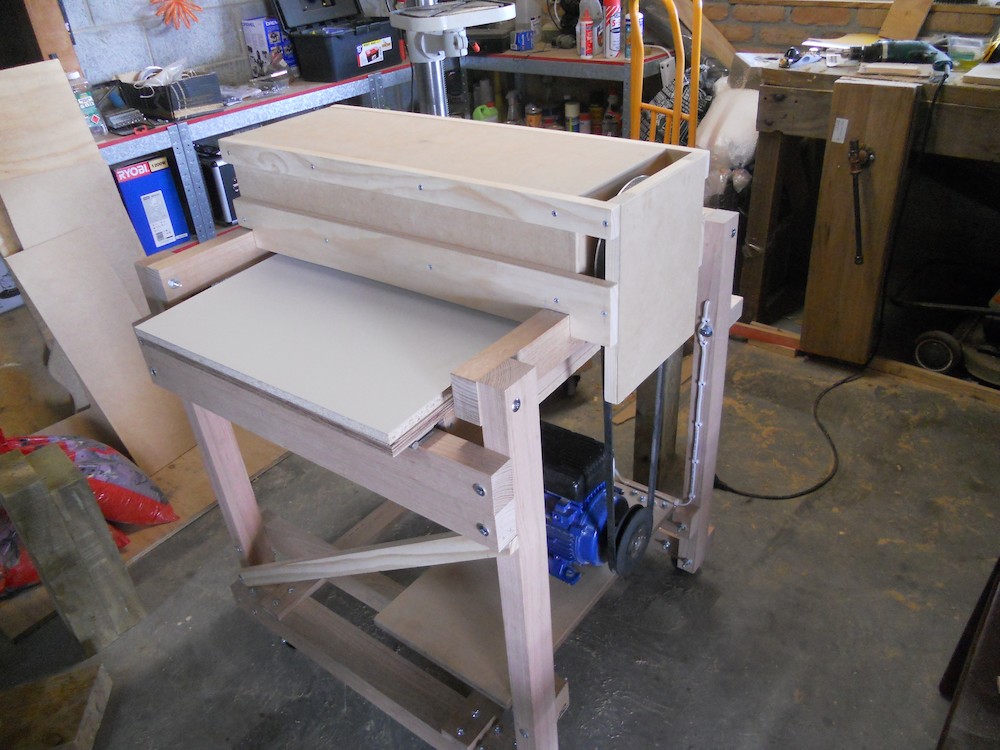
A roughly assembled benchtop to allow the unit to be used as a light-duty, elevated work area when not in use. |
Sandpaper loaded, held in place with hose clamps (which overhang the sides of the table) |

The table lift press screw was quite loose, and the vibration (which was not excessive) was causing it to unwind, lowering the table while in use. To fix this I made a "lock nut" from construction plywood, which works well. |
The first test - a piece of hardwood (Tasmanian oak), went through nicely. I took it slow, about three passes to take off 1mm or so. It's not super smooth, as I was using 80 grit paper, but it's level and even, and the trued-up drum performed well (no "bumping"). |

Final Verdict
Time will tell how much additional truing the drum requires - I waited three weeks between trueing the mounting disks before addressing the drum,
so hopefully things have settled down.
There is some vibration, but certainly nothing alarming. The machine is very quiet - the vacuum cleaner used as a dust extractor is far louder, leading to momentary confusion when I switch the sander off, but the noise stays the same.
Speaking of the vacuum cleaner - it is not as effective as I'd hoped, quite a bit of dust shoots out the front. I may lower the leading edge of the dust shroud, that might stop a bit of it.
(All this will come as no surprise to anyone with experience of a real dust extractor).
The looseness of the press screw was the only surprise, but the wooden lock nut solved it perfectly.
When making it, I didn't even use a proper thread tap: I just drilled the plywood and clamped two pieces of pine either side,
drilled slightly wider. This kept everything in alignment, and prevented tearout as I force-threaded
the press screw itself through the whole lot.
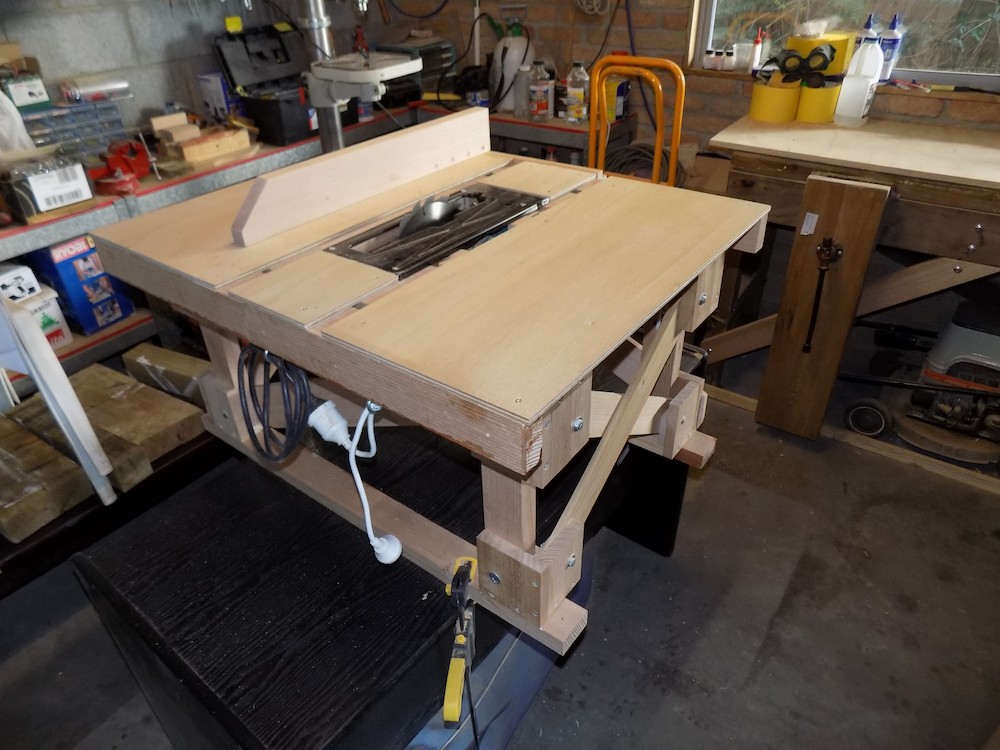
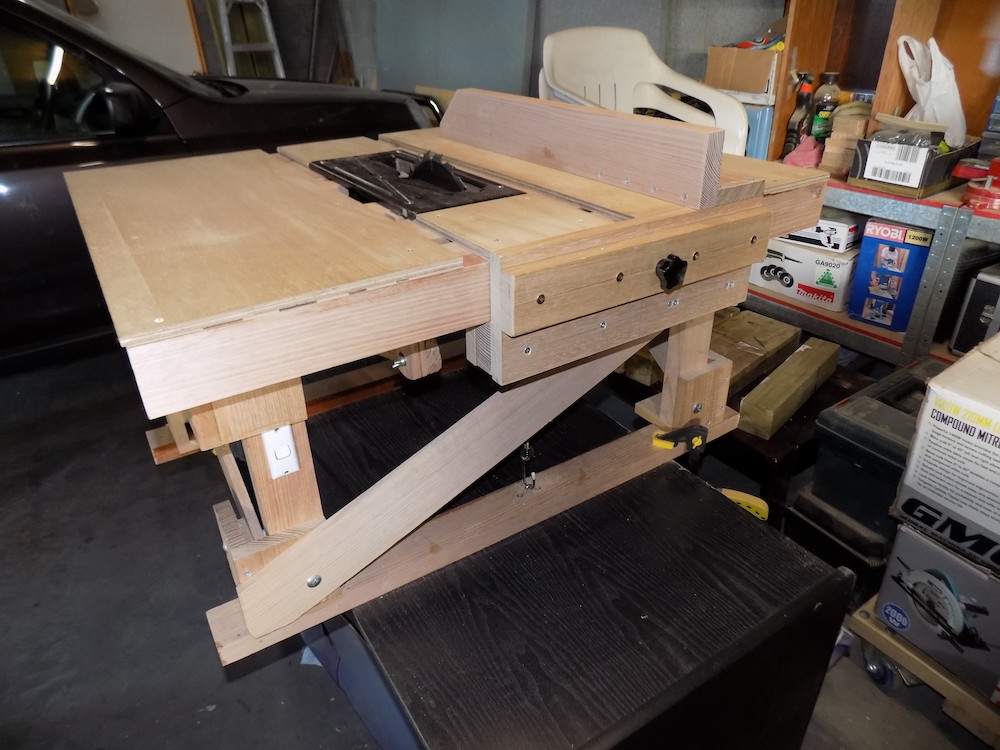
Table Saw Conversion (2017)
I had a hand power saw that I hardly ever used, and decided to convert it to a table saw
From rear |
Front view, note the adjustable fence |
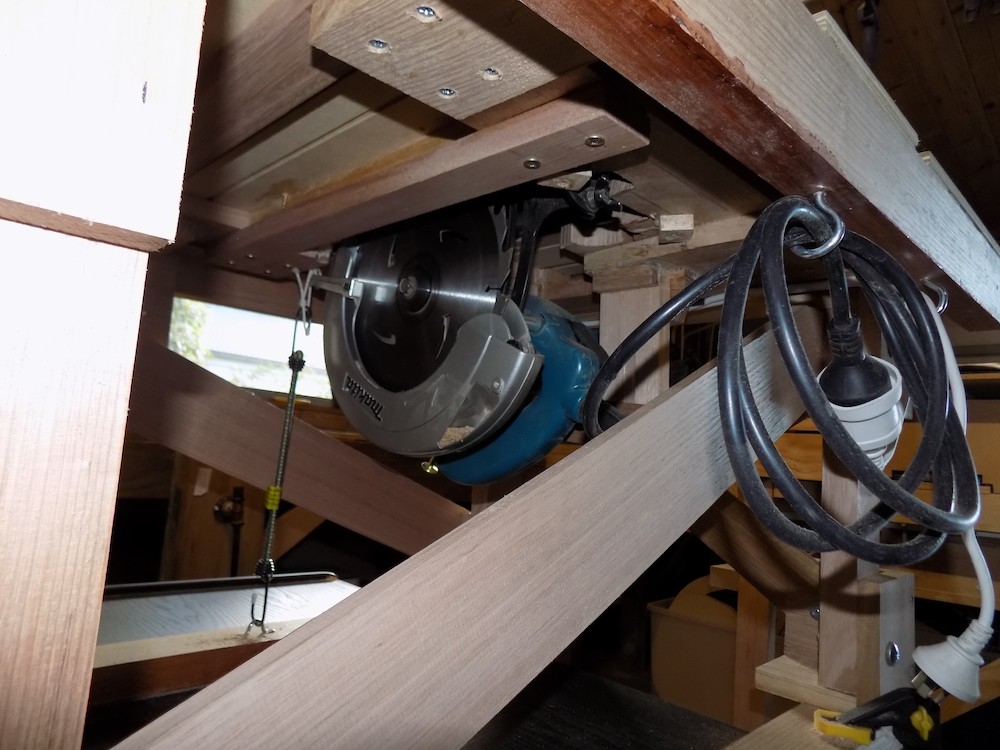
Underneath |
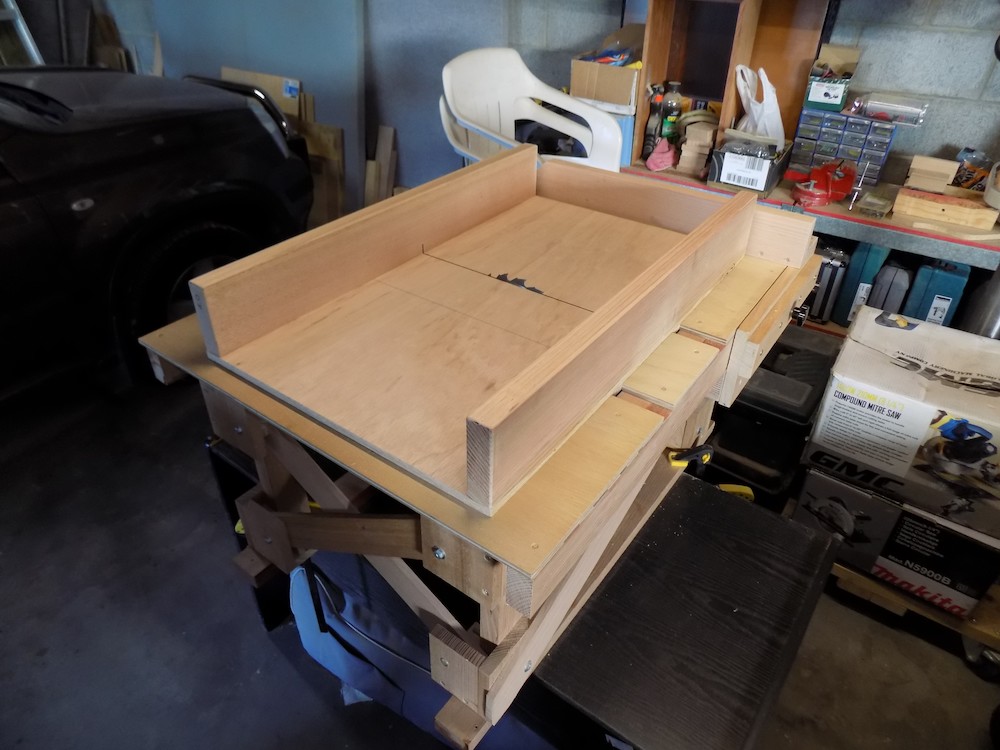
Crosscut sled |
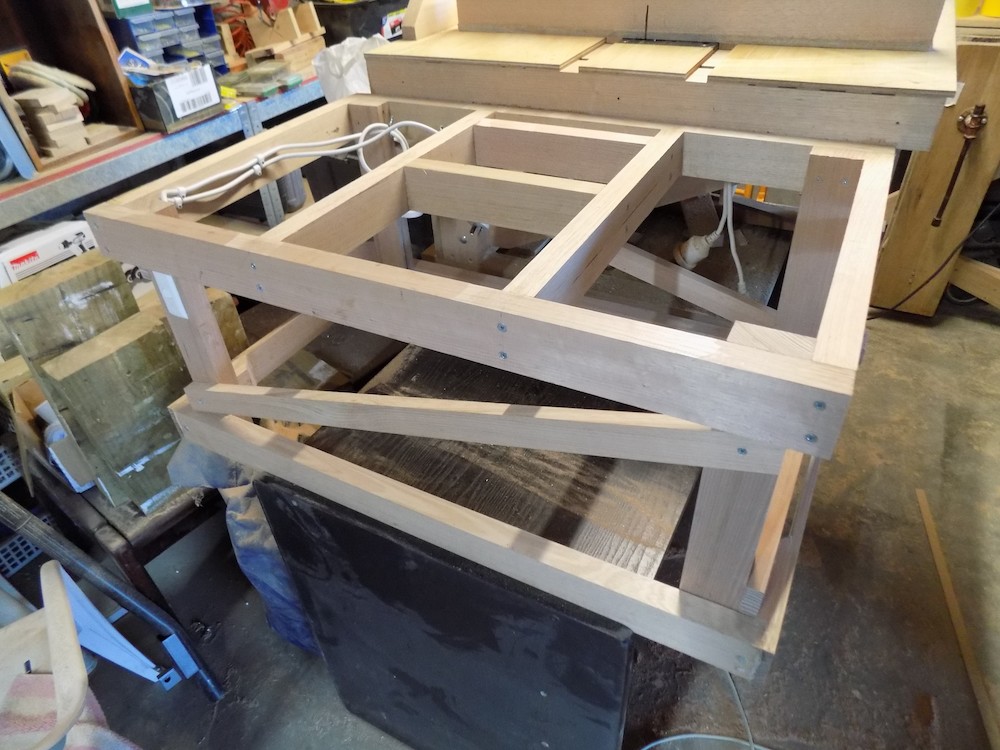
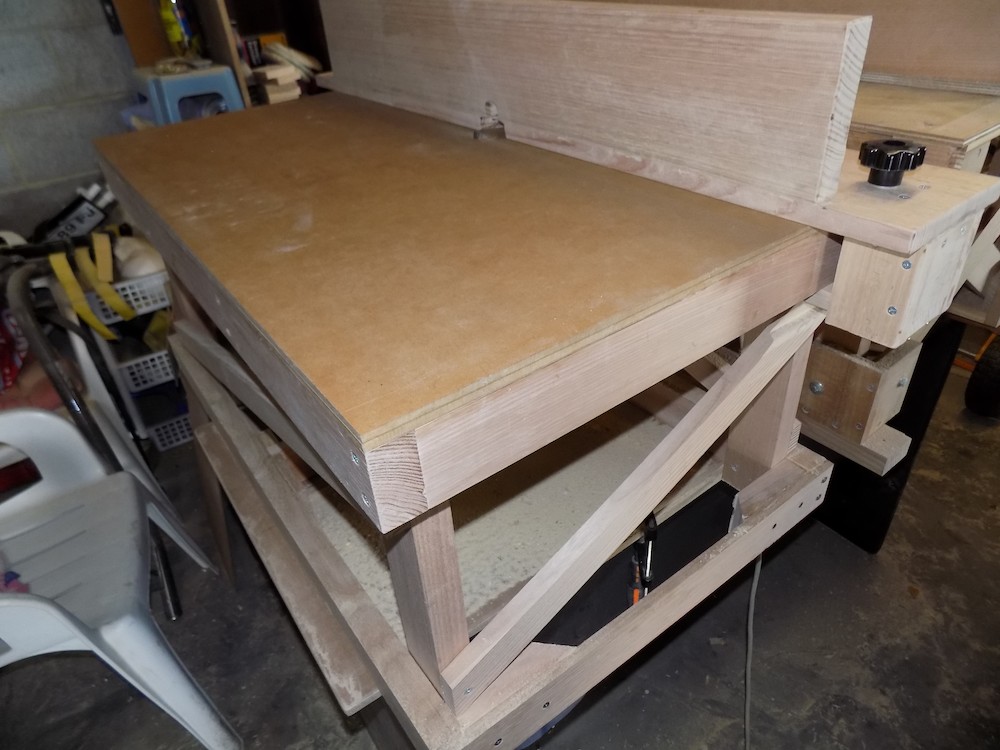
Router Table Adapter (2018)
My plunge router is good, but there are times when a router table is more suitable, so I decided to build a table adapter.
It has a lockable fench and screw-operated lifter wheel. Not everything turned out the way I'd hoped, but it has already proved quite useful.
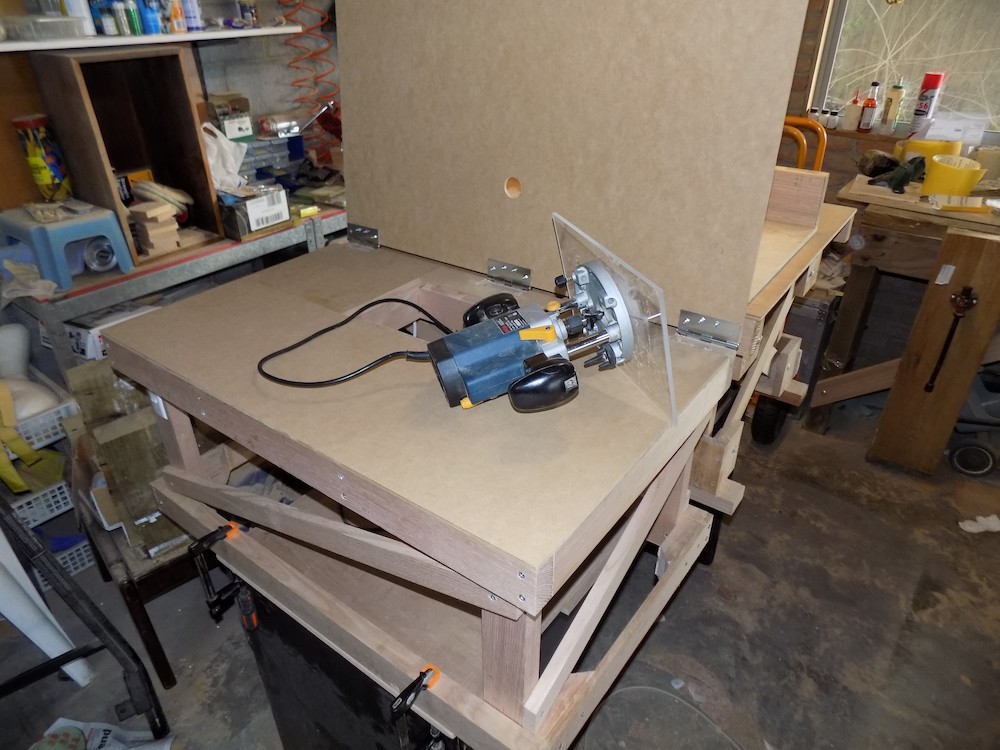
Frame and electricals |
Plexiglass plate drops into frame |
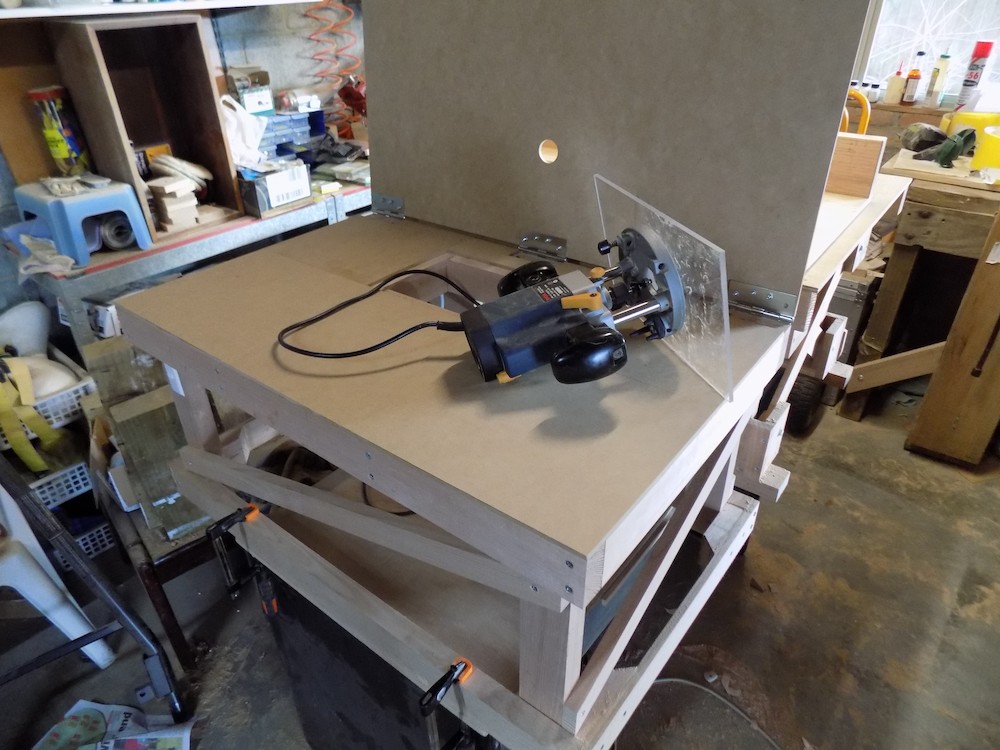
Changeover between table and hand router is quick and easy |
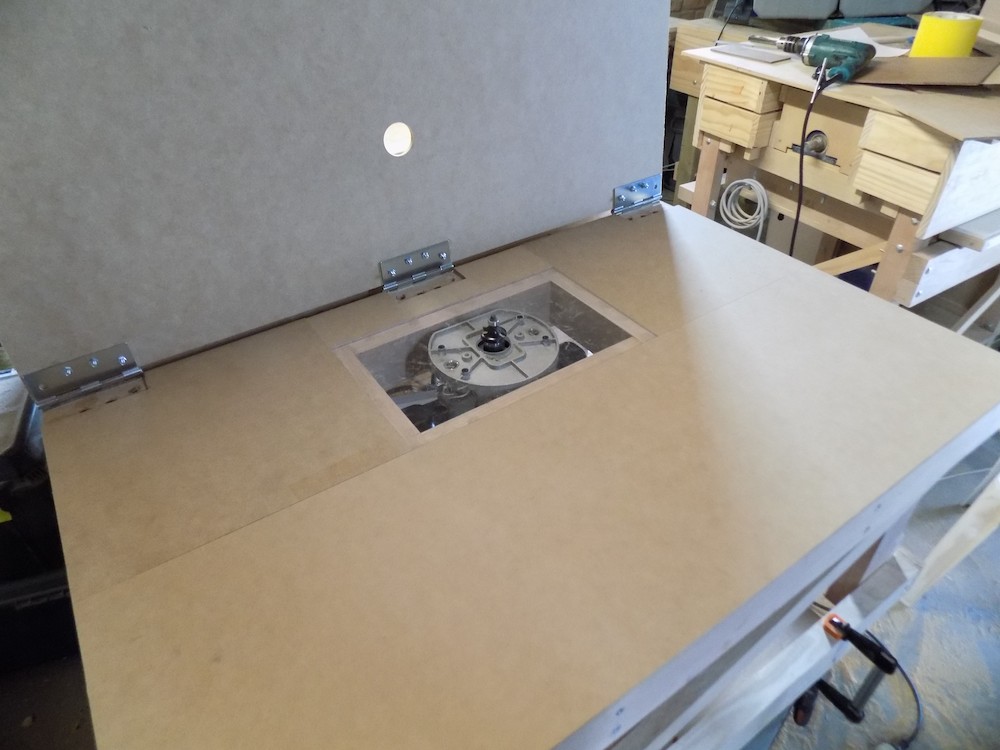
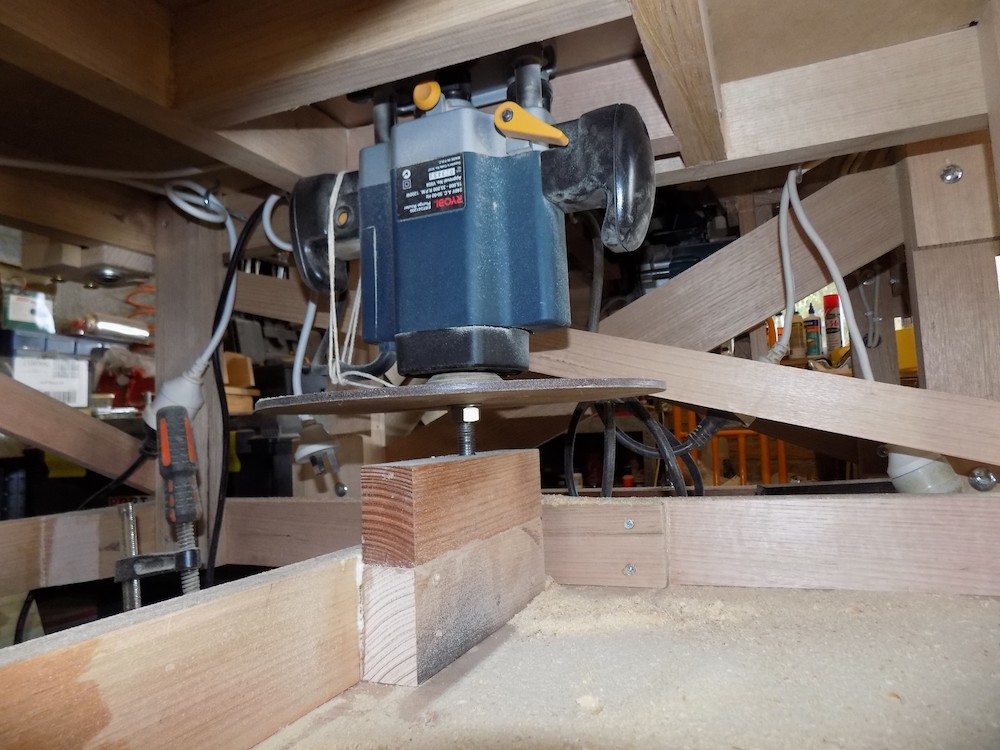
Router mounted in table |
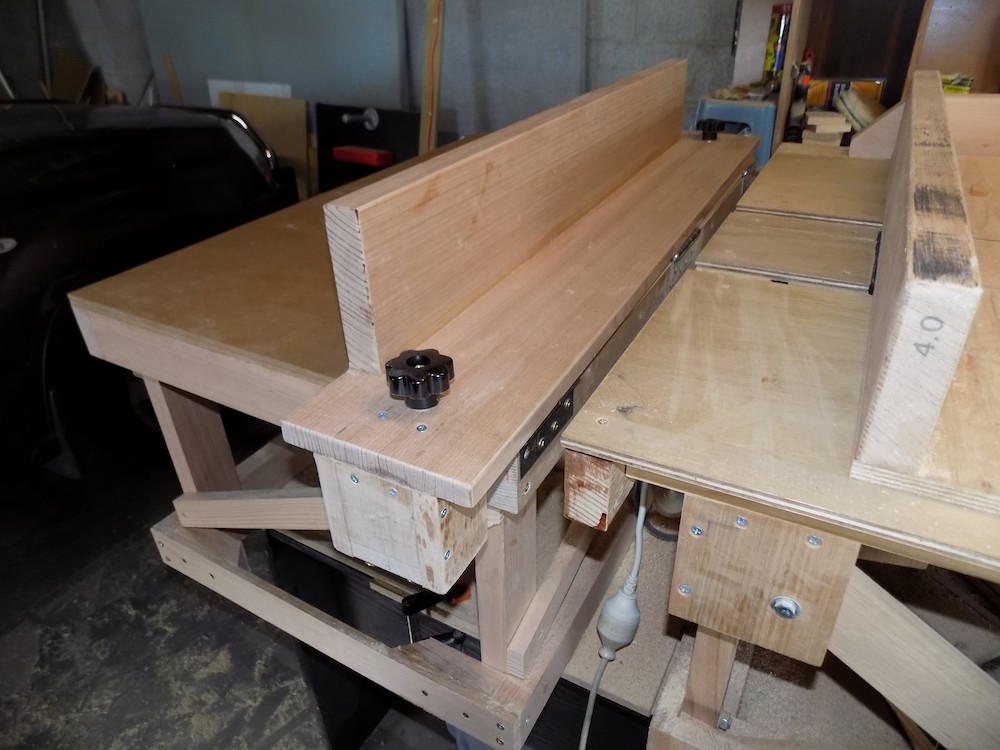
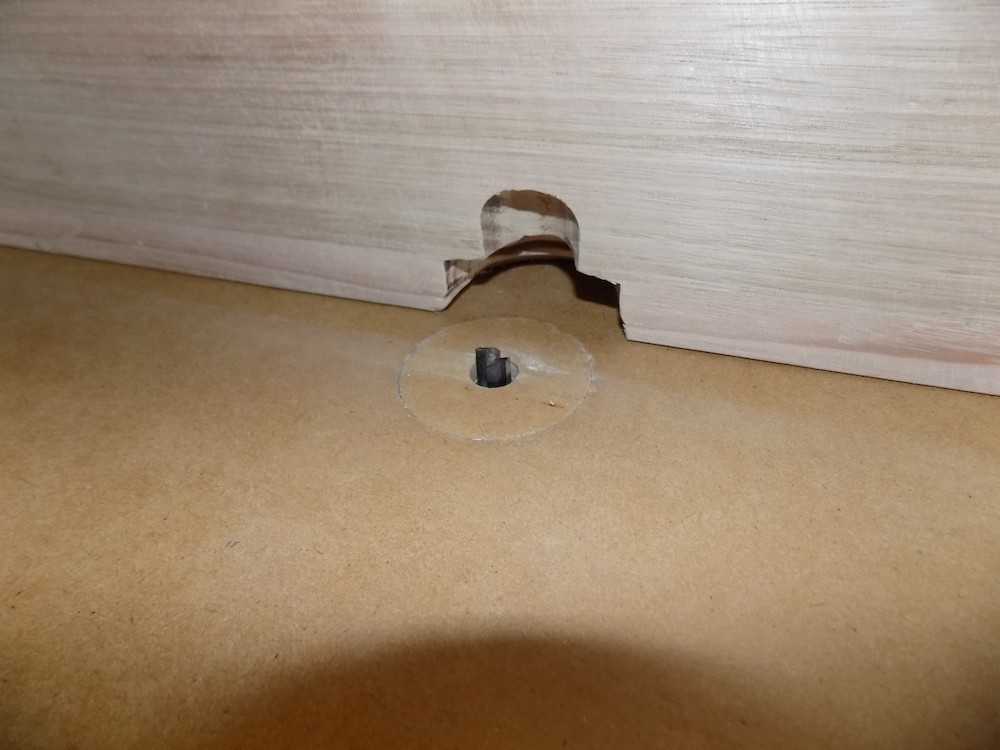
Lockable fence |
(I think I got too eager making a channel in the fence) |
Screw lift wheel |
Removable plate for larger router bits |
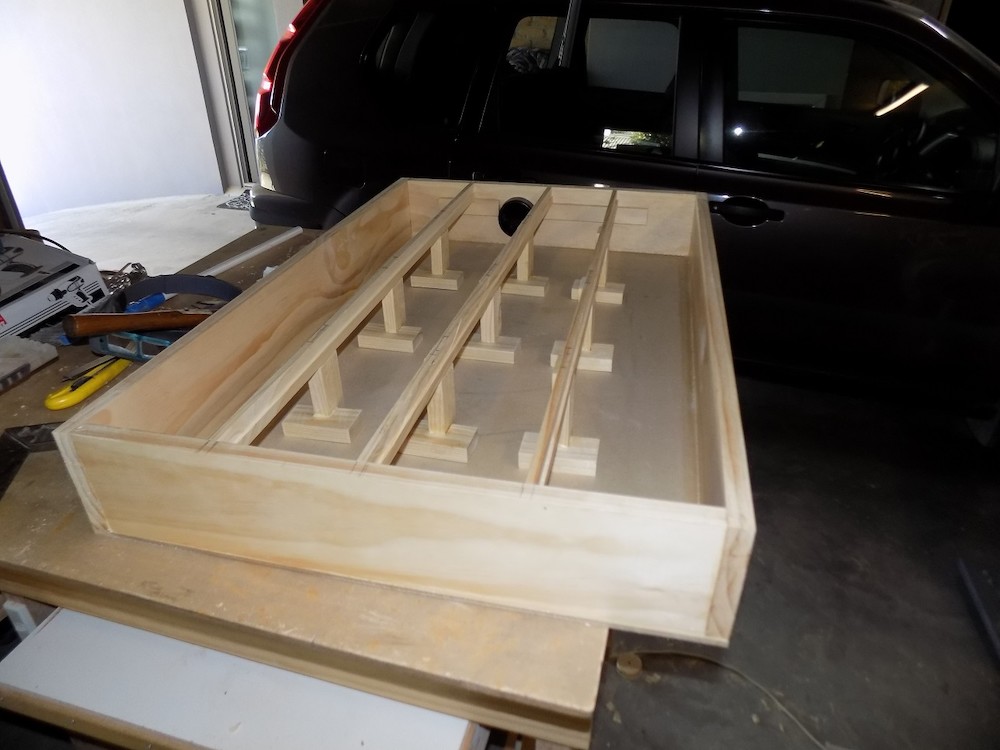
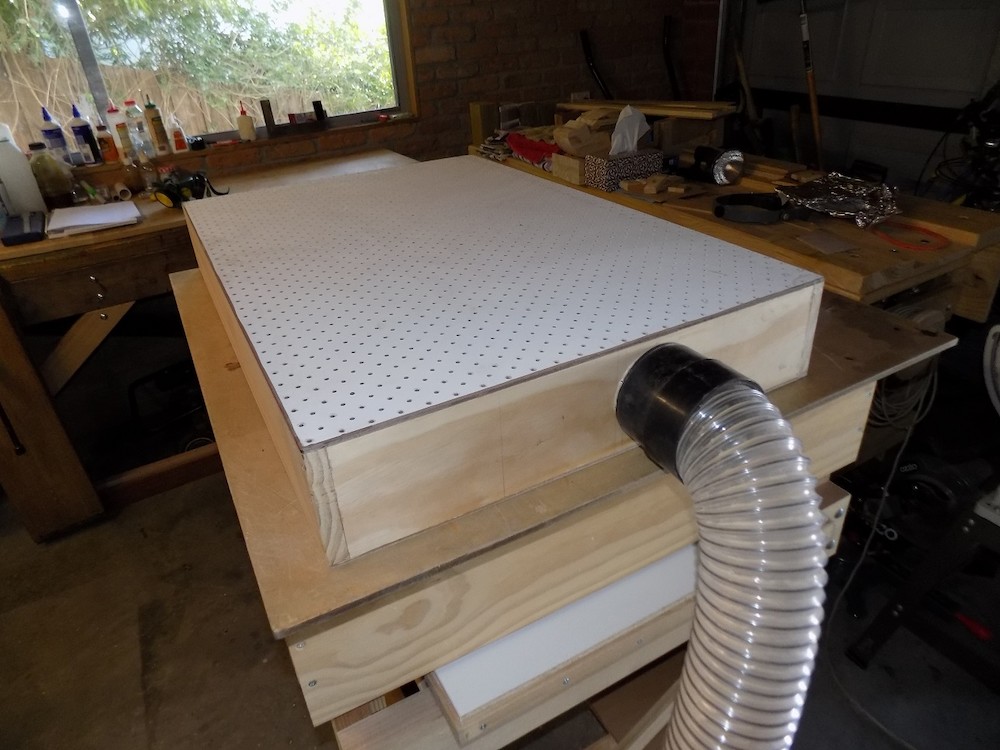
Downdraft Sanding Table (2020)
Getting a bit serious about avoiding sanding dust - all fine wood dust is harmful, but some species are more irritating that others.
Inside showing reinforcing struts |
Assembled and connected |
All content Copyright 2017 Trevor Magnusson
| × | |